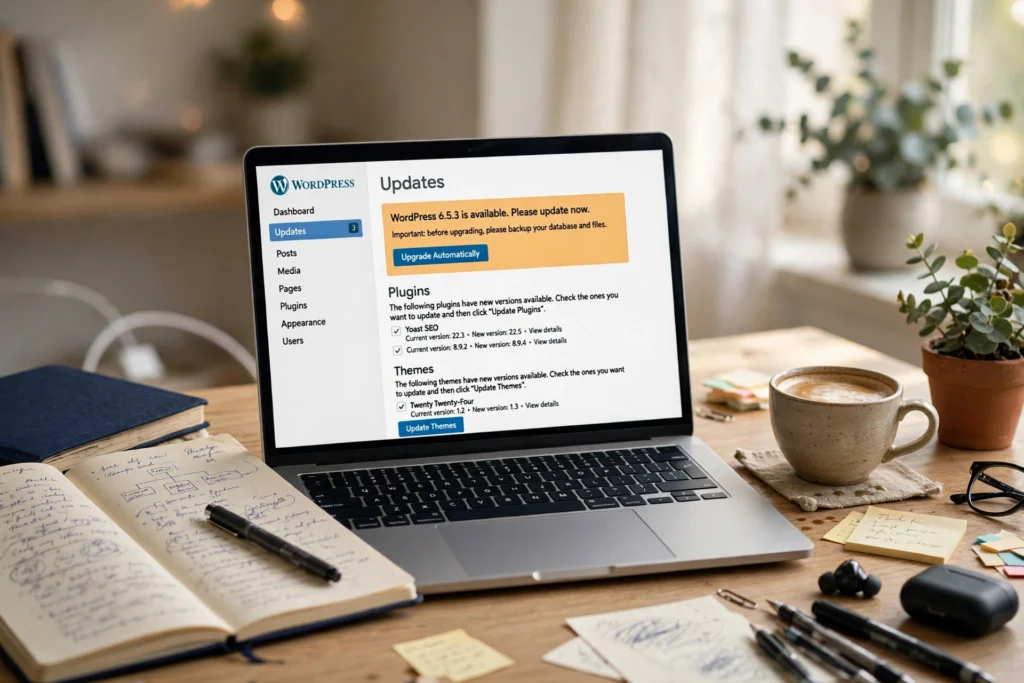
Why Updates Feel Risky (and Why Skipping Them Is Riskier)
Every WordPress site owner knows the feeling: a red update badge appears, you click it, and for a few seconds you wonder whether the site will come back. That fear is understandable, but leaving a site un-updated is the riskier choice. Updates carry security fixes, bug fixes, and compatibility improvements for new PHP versions and plugins. A site left months behind is harder to update later, because the jump is bigger.
The good news is that you can update WordPress safely with a simple routine: back up first, test on staging when the update is major, update in a sensible order, and check the site afterwards. Follow that routine and most updates become uneventful — which is exactly what you want.
Before You Update: The 10-Minute Safety Check
Do not skip this part. Almost every update horror story starts with someone clicking “Update Now” on a live site with no backup and no idea what will change.
1. Take a complete backup
A complete backup means two things: your files (themes, plugins, uploads, and configuration) and your database (posts, pages, settings, and user accounts). A database-only backup is not enough, and a files-only backup is not enough either. Run a manual backup right before the update — do not rely solely on a host backup from last week — and store a copy somewhere off the server, such as cloud storage. If you have never restored a backup, that is worth testing on staging too: a backup you cannot restore is not a safety net. For the full walkthrough, see my guide on how to back up your WordPress site.
2. Read the changelogs
On Dashboard > Updates, each pending update has a “View version details” link. Read it. You are looking for three things: a security fix (update promptly), a required PHP or WordPress version higher than yours (sort that out first), and breaking changes such as a major rewrite or a database migration. A changelog that mentions breaking changes is a sign to test on staging rather than updating live.
3. Check plugin and theme compatibility
Open each plugin’s page on WordPress.org and check the “Tested up to” version. A plugin that has not been tested against the WordPress version you are moving to will not necessarily break, but it has not been verified either. Pay extra attention to plugins that touch money or critical functionality: checkout and payment gateways, forms, membership, and your page builder. If a critical plugin has not confirmed support for the new version, wait for its next release or test it on staging first. While you are there, delete plugins you no longer use — an inactive plugin is still code on your server, and updating code you do not need is wasted risk.
4. Check your PHP version
Go to Tools > Site Health > Info > Server and note your PHP version. WordPress recommends PHP 8.3 or newer. If your host is still running an old, unsupported PHP version, update WordPress and your plugins first where possible, then ask your host to move PHP up — and test on staging, because a PHP jump can expose old plugin code that relied on deprecated behaviour.
5. Test major updates on staging
A staging site is a private copy of your live site where you can break things without your visitors ever knowing. Most decent hosts offer one-click staging. For minor security releases, a fresh backup plus a careful live update is usually fine. For major releases — where the first version number changes — staging is the right call. Clone the site, run the updates there, click through your key pages, submit a test form, and only then repeat the same steps on live. My step-by-step guide to setting up a WordPress staging site covers the setup.
How to Update WordPress Safely: Step by Step
With the safety check done, the update itself is straightforward. Work in this order: WordPress core first, then plugins, then your theme. Plugin and theme developers test against the latest core release, so updating core first gives everything else the stable foundation it expects. Update one thing at a time and glance at the site between steps — batching ten updates at once hides which one caused a problem.
- Back up. Files and database, stored off-server. Confirm the backup completed before you continue.
- Clear your cache. If you run a caching plugin such as LiteSpeed Cache or WP Rocket, purge the cache before updating so you are not testing against stale pages afterwards.
- Update WordPress core. Go to Dashboard > Updates, click the update button for the version shown, and do not close the tab or navigate away until it finishes. WordPress briefly puts the site into maintenance mode during the update; that is normal and usually lasts only seconds.
- Update plugins one at a time. Start with low-risk utility plugins, then content and marketing plugins such as SEO and forms, and finish with anything that touches money — payments, checkout, tax, and shipping. After each high-stakes plugin, check the front end and, for a shop, run a test order in the payment gateway’s sandbox mode.
- Update your theme last. Remember that updating a theme replaces its files. If you edited the parent theme directly — its
style.cssorfunctions.php, for example — those edits will be overwritten. That is what child themes are for: keep your customisations in a child theme so parent-theme updates are safe to apply. - Check the site properly. Visit the homepage, a blog post, your contact page, and any page with a form or checkout. Submit a test form. Check the site on your phone as well as your desktop, because layout problems often show up only on mobile. Then purge the cache once more and check again.
What About Automatic Updates?
WordPress installs minor security releases automatically by default, and that is a good default to leave alone — those releases fix vulnerabilities and rarely break anything. Major releases, plugins, and themes are not auto-updated unless you enable that per item, under Dashboard > Updates or on the Plugins and Themes screens. Automatic updates for a simple blog with well-maintained plugins are usually fine. For a shop, a membership site, or any site where a broken checkout costs money, keep automatic updates off for plugins and themes and run them by hand on a schedule instead — monthly for routine plugins, promptly for anything whose changelog says “security fix”.
If an Update Breaks Something: The Rollback Plan
Stay calm and work from the smallest fix upwards. First, note exactly what changed and what broke — that tells you which update is responsible.
- White screen or “critical error”? WordPress recovery mode usually emails the site admin a link that lets you log in and deactivate the faulty plugin. If you cannot reach wp-admin at all, rename the most recently updated plugin’s folder via FTP or your host’s file manager — WordPress will deactivate it automatically. My guide to fixing the white screen of death walks through this in detail.
- One plugin misbehaving? Roll just that plugin back. The free WP Rollback plugin can revert any plugin or theme from WordPress.org to a previous version, which is much less disruptive than restoring the whole site.
- Site seriously broken? Restore the pre-update backup — files first, then the database — and confirm the site works before you try again. Then re-run the update on staging to find the real conflict instead of guessing on live.
One rule to remember: never try to fix a broken live site by stacking more updates on top of the problem. Roll back first, diagnose second, update third.
A Simple Update Routine You Can Stick To
Updates do not need to be stressful if they happen on a schedule instead of in a panic. A routine that works for most small sites looks like this: security-fix updates within a day or two of release, routine plugin updates once a month, theme updates quarterly or whenever a fix you actually need appears, and major core releases on staging first, then live once staging checks out. Keep a short note of what you updated and when — future you will be grateful when something odd appears weeks later and you need to know what changed.
That is the whole method for how to update WordPress safely: back up, read the changelogs, test the big ones on staging, update core first and one thing at a time, and keep a rollback ready before you start. It takes a little longer than clicking “Update All”, but it is the difference between a routine task and a recovery project.
If you would rather not handle updates, migrations, or speed work yourself, get in touch through my contact page — I maintain WordPress sites for clients and can take the update routine off your plate.