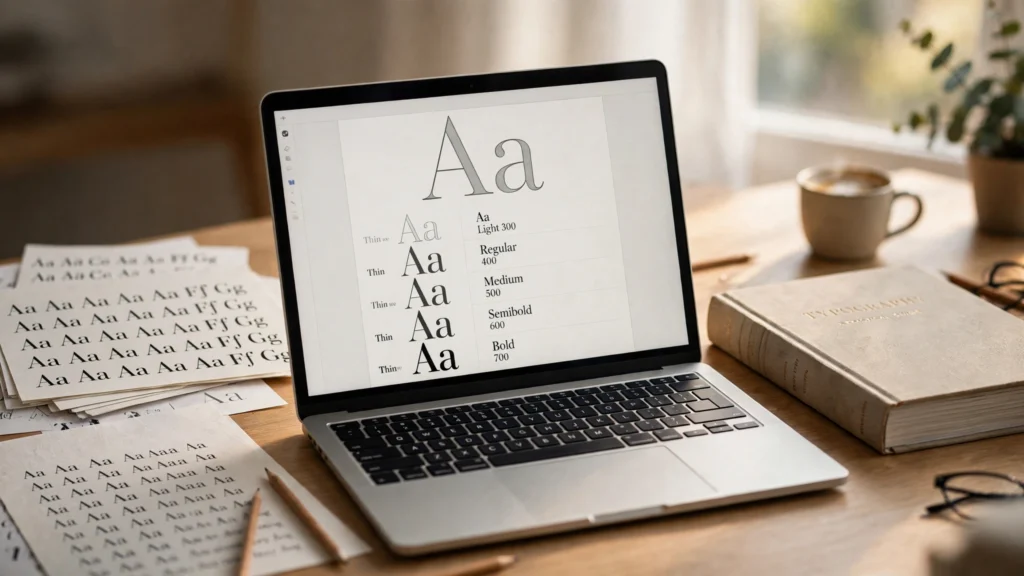
Typography does more for a website’s first impression than almost any other design choice. The right font makes a site feel trustworthy and professional; the wrong one makes it look dated before anyone reads a word. If you want to add custom fonts to WordPress, you have several good options in 2026 — from the built-in Font Library to a few lines of CSS in a child theme. Here is how.
Why custom fonts are worth the effort
Most WordPress themes ship with a small set of safe system fonts or a handful of Google Fonts. A distinctive heading font paired with a readable body font is one of the cheapest ways to make a site look designed rather than assembled from a template.
Fonts also affect how people read. A clean sans-serif such as Inter or Sora works well for body text, while a serif such as Playfair Display gives headings a more editorial feel. Pick two fonts that contrast and use them consistently.
There is one rule that matters more than taste, though: restraint. Every font family and weight you add is another file the browser must download. Two families with two or three weights each is a sensible budget. Five families with eight weights each will slow your site down and undo the polish you were aiming for.
Before you start: choose and prepare your fonts
Before touching any settings, decide where your fonts come from and which files you need.
Google Fonts is the most popular source: more than 1,600 free families, all licensed for commercial use, and every one of them can be self-hosted. Shortlist two families — one for headings, one for body text. Paid foundries such as Adobe Fonts are worth it when a brand needs something Google Fonts does not offer — just check the licence covers web use.
For the files themselves, you only need WOFF2 in 2026 — every modern browser supports it, and it is typically 30–40% smaller than WOFF or TTF. Keep only the weights you use: Regular (400), Medium (500), SemiBold (600), and Bold (700).
Finally, decide whether to load fonts from Google’s servers or from your own. Loading from Google is the easiest setup, but every visitor’s browser then contacts Google directly, sending their IP address to a third party — a practice a German court ruled a GDPR violation in 2022 when done without consent. Self-hosting avoids the issue entirely and is usually faster, because it removes an extra DNS lookup and connection.
How to add custom fonts to WordPress
There are four reliable ways to add custom fonts to WordPress. Pick the one that matches how your site is built — you only need one.
Method 1: Use the built-in Font Library (block themes)
If your site uses a block theme and WordPress 6.5 or newer, the Font Library is the fastest option. It needs no plugin and no code, and fonts you install through it — including Google Fonts — are downloaded to your own server and served locally.
- Go to Appearance → Editor in your WordPress dashboard.
- Click Styles in the left-hand menu, then the pencil icon next to the Styles heading.
- Click Typography, scroll to the Fonts section, and click the Manage Fonts icon.
- On the Install Fonts tab, search for a Google Font, select the variants you need, and click Install. On the Upload tab, you can upload your own font files in TTF, OTF, WOFF, or WOFF2 format instead.
- Back in the Typography panel, assign the new font to your headings, body text, or individual blocks.
The one limitation is scope: the Font Library only works with block themes. If your site uses a classic theme or a page builder such as Elementor, use one of the methods below instead.
Method 2: Use Elementor or your theme’s typography settings
If you build with Elementor, the page builder has its own font system. Elementor Pro includes a Custom Fonts feature that lets you upload WOFF2 files and use them anywhere in your designs.
- In Elementor Pro, go to Elementor → Custom Fonts and click Add New.
- Give the font a name, upload one file per weight (Regular, Bold, and so on), and click Publish.
- Open Site Settings → Typography in the Elementor editor and assign the font to your global headings and body text, so every page uses it automatically.
Many classic themes also have a typography panel under Appearance → Customize with a Google Fonts picker. If yours does, switch on its “load Google Fonts locally” option if one exists.
Method 3: Use a plugin (best for classic themes and page builders)
Two plugins cover almost every situation. Custom Fonts (by Brainstorm Force, the team behind Astra) adds a settings screen where you can add Google Fonts or upload your own font files, then use them in the Customizer, in Elementor, and in most themes.
OMGF solves a different problem: it finds Google Fonts that your theme or plugins are already loading from Google’s servers, downloads them, and serves them from your own server instead. If your theme loads Google Fonts and offers no local option, OMGF fixes that with almost no configuration. It has more than 300,000 active installations and is tested with WordPress 7.0. Find it on WordPress.org as OMGF | GDPR/DSGVO Compliant, Faster Google Fonts.
Method 4: Add fonts manually with @font-face (child theme)
Manual setup gives you full control and zero plugin overhead. Always do this in a child theme — edits to a parent theme are wiped out by the next theme update.
First, upload your WOFF2 files to a fonts folder inside the child theme, for example wp-content/themes/your-child-theme/fonts/. Then add an @font-face rule for each weight to the child theme’s style.css:
@font-face {
  font-family: 'Sora';
  font-style: normal;
  font-weight: 400;
  font-display: swap;
  src: url('fonts/sora-regular.woff2') format('woff2');
}

@font-face {
  font-family: 'Sora';
  font-style: normal;
  font-weight: 700;
  font-display: swap;
  src: url('fonts/sora-bold.woff2') format('woff2');
}
The font-display: swap line is important: it tells the browser to show a fallback font immediately and swap in your custom font when it arrives, instead of leaving text invisible while the font downloads.
Then apply the font to your site’s text:
body {
  font-family: 'Sora', system-ui, -apple-system, sans-serif;
}

h1, h2, h3 {
  font-family: 'Playfair Display', Georgia, serif;
}
Always end a font stack with a generic fallback (sans-serif or serif) and a system font or two before it. If your custom font ever fails to load, the fallback keeps the page readable.
Keep your fonts fast
Fonts are render-blocking by nature: the browser needs them before it can paint text correctly. Three habits keep their cost low.
Load only the weights you use, and subset where you can. Each weight is a separate file, and a full font file includes characters for dozens of languages you may never need. Tools such as google-webfonts-helper let you download only the latin subset, which can cut a file’s size by more than half.
Self-host rather than loading from a CDN. Self-hosting removes the extra connection to Google’s servers, which helps both your Largest Contentful Paint and your privacy compliance. To check whether your site still loads fonts from Google, open DevTools, go to the Network tab, reload, and search for “fonts.g”.
Common problems and how to fix them
The font does not show up. Clear every layer of cache — your caching plugin, your CDN, and your browser — then check the file path in your @font-face rule. A wrong path is the most common cause, and a 404 for the font file in the Network tab confirms it.
Your site feels slower after adding fonts. Count the font files in the Network tab. If you see ten or more, you are loading too many families or weights. Cut back to two families and the weights you actually use, and check your Elementor speed settings if you build with a page builder — Elementor can load its own Google Fonts on top of yours.
Frequently asked questions
Do custom fonts hurt SEO?
Not directly — Google does not rank sites on their typeface. But heavy fonts slow down your pages, and page speed is a ranking factor, so keep your font payload small and self-hosted.
Final thoughts
Once you know how to add custom fonts to WordPress, the method is a simple match to your setup: the Font Library for block themes, Elementor’s Custom Fonts for page-builder sites, a plugin such as Custom Fonts or OMGF when you need a no-code fix, and @font-face in a child theme when you want full control. Self-host the files, load only the weights you use, and always set font-display: swap with a sensible fallback.
Want a site where the typography, speed, and design all work together instead of fighting each other? Get in touch — I build fast, custom WordPress sites and can sort out your fonts, performance, and everything in between.