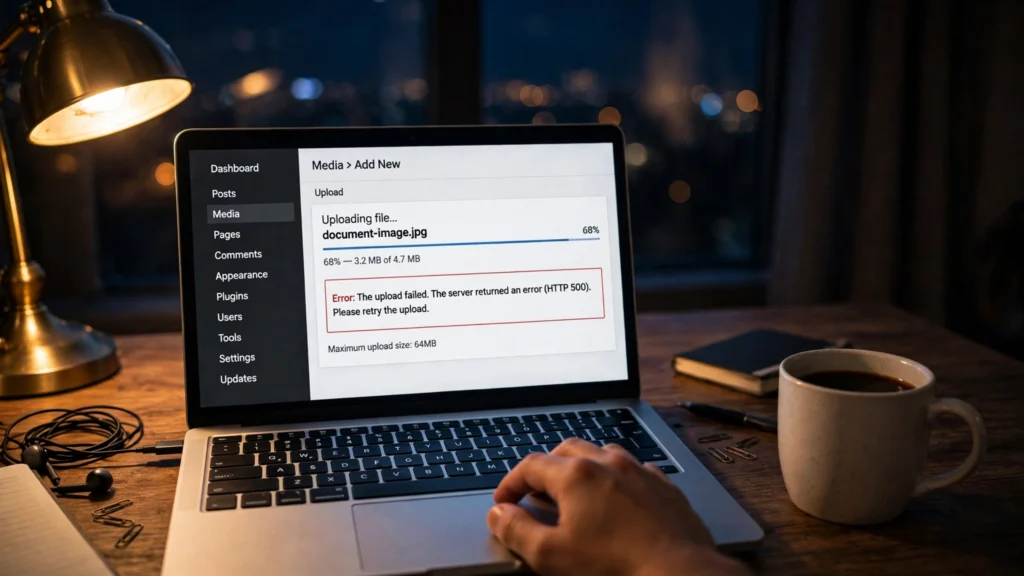
What Does “The Link You Followed Has Expired” Mean?
You upload a premium theme, click Install — and instead of a success message, WordPress shows a blank page: “The link you followed has expired. Please try again.” No explanation, no error code, no hint about what actually went wrong.
If you have run into the link you followed has expired WordPress error, here is the good news: it is almost never a broken site. In most cases the file you are uploading is bigger than your server’s PHP upload limits allow, and WordPress shows this vague message instead of telling you the file was too large. In this guide, you will learn exactly why it happens and six proven ways to fix it.
WordPress attaches a one-time security token called a nonce to every admin form. When you submit, WordPress checks the token — if it is missing or no longer valid, it refuses the request and shows this message. Nonces are valid for 12 to 24 hours, so a token can genuinely expire if you leave a page open all day. But that is the rare case. Far more often, the token never reaches WordPress at all: when your upload exceeds the post_max_size limit, PHP throws away the entire request, so WordPress receives a form with no security token and shows the expired-link message instead of a “file too large” error.
What Causes the Error in WordPress
The message has a handful of causes, each pointing to a different fix:
- The file is larger than
upload_max_filesize. The most common cause. Premium themes and plugins are often 10–50 MB, while many shared hosts still ship with a 2 MB default limit. - The request is larger than
post_max_size. This limit covers the whole POST request, not just the file. When it is exceeded, PHP empties$_POSTand$_FILES— including the security nonce. - The upload is too slow. On a slow connection, a large upload can run past
max_input_timeormax_execution_timeand the form data is lost. - The page was left open too long. Open the upload screen in the morning, hit submit in the evening, and the nonce may simply have expired.
- A plugin conflict or stale cache. Rare, but caching and security plugins can interfere with admin form submissions.
Check Your Current Upload Limits First
Before changing anything, find out what your limits actually are. Go to Media » Add New: under the upload area you will see “Maximum upload file size: 2 MB.” WordPress calculates this from the smaller of upload_max_filesize and post_max_size. You can also check Tools » Site Health » Info » Server for the max upload size, PHP memory limit, and max execution time. Compare the file you are trying to upload against that number — if the file is bigger than the limit, you have found your culprit.
PHP itself ships with tiny defaults — upload_max_filesize of 2M and post_max_size of 8M — and many budget shared hosts leave them untouched. Any modern theme will blow straight past them.
How to Fix the Link You Followed Has Expired Error in WordPress
Every fix below does the same thing in a different place: raise the PHP limits so the upload fits. Start with Method 1 and only move down the list if your host does not offer it. Use these values as your target: upload_max_filesize 128M, post_max_size 128M, memory_limit 256M, max_execution_time 300, max_input_time 300.
One rule matters more than the numbers: post_max_size must always be equal to or larger than upload_max_filesize. If you raise the file limit to 128M but leave post_max_size at 8M, uploads will keep failing because the request-body limit is hit first.
Method 1: Raise the Limits in Your Hosting Panel (Easiest)
Most shared hosts expose PHP settings in the control panel, and this is the method to try first. In cPanel, open MultiPHP INI Editor, select your domain, set the five values above, and click Apply. On Hostinger, go to hPanel » Advanced » PHP Configuration. On Plesk, open your domain and edit the same directives under PHP Settings. Save, then check Tools » Site Health to confirm the new numbers took effect before retrying the upload.
Method 2: Edit php.ini (Most Reliable)
If you have server access — a VPS, a dedicated server, or a host that lets you edit PHP configuration — editing php.ini is the most permanent fix. Find or create the file in your WordPress root directory (some hosts use .user.ini instead) and add or update these lines:
upload_max_filesize = 128M
post_max_size = 128M
memory_limit = 256M
max_execution_time = 300
max_input_time = 300
Save and retry the upload. Note that .user.ini changes can take a few minutes to be picked up, and some servers need a PHP restart first.
Method 3: Add the Limits to .htaccess (Apache Only)
On Apache servers running PHP as a module, you can set the same limits in the .htaccess file in your WordPress root. Add these lines at the end of the file:
php_value upload_max_filesize 128M
php_value post_max_size 128M
php_value memory_limit 256M
php_value max_execution_time 300
php_value max_input_time 300
Two warnings first. Back up .htaccess before editing it — a typo in this file can take the whole site down. And this only works on Apache with mod_php. On PHP-FPM, CGI, or FastCGI, these lines will trigger a 500 Internal Server Error instead, and Nginx ignores .htaccess entirely. If that happens, remove the lines and use another method.
Method 4: Add the Limits to wp-config.php
If you cannot reach php.ini and your host offers no panel editor, add these lines to wp-config.php, just above the line that reads “That’s all, stop editing!”:
@ini_set( 'upload_max_filesize', '128M' );
@ini_set( 'post_max_size', '128M' );
@ini_set( 'max_execution_time', '300' );
define( 'WP_MEMORY_LIMIT', '256M' );
This works on many shared hosts, but some disable ini_set() for security, in which case these lines silently do nothing — verify in Site Health afterwards. For more on the memory setting, see my guide on how to increase the WordPress memory limit.
Method 5: Raise the Limits With a Code Snippets Plugin
If you would rather not edit server files at all, the free WPCode plugin does the same job from inside the dashboard. Install WPCode, go to Code Snippets » Add Snippet, choose a PHP snippet, and paste the same @ini_set() lines from Method 4. Set the snippet to run everywhere and activate it. The advantage is safety: a snippet can be deactivated in one click, and unlike code added to your theme’s functions.php, it survives theme updates.
Method 6: Upload the File With FTP Instead (Bypass)
If your host locks the PHP limits and you cannot raise them, skip the browser upload entirely. Unzip the theme or plugin on your computer, then upload the extracted folder with FTP or your host’s File Manager to wp-content/themes/ for a theme or wp-content/plugins/ for a plugin. Then activate it from Appearance » Themes or Plugins. The upload limits never come into play because no file is uploaded through WordPress at all.
Still Seeing the Error After Raising the Limits?
If the limits are raised and verified but the error persists, check these:
- 413 Request Entity Too Large. If the error changed to a 413, your Nginx server rejected the request before PHP saw it. The fix is the
client_max_body_sizedirective in the Nginx server block, which needs host or server-level access:client_max_body_size 128m; - A plugin is interfering. Temporarily deactivate caching and security plugins, retry the upload, and reactivate them one by one to find the culprit.
- Your host locks the values. If Site Health still shows the old numbers after every method above, the host enforces the limits server-side. Contact support and ask them to raise
upload_max_filesizeandpost_max_size— most hosts will do it on request.
Frequently Asked Questions
Is this error a security problem?
No — it is the security check working as designed. The nonce check failed, so WordPress blocked a request it could not verify.
Does the error affect my visitors?
No. It only appears for admin actions that submit forms — uploads, installs, and settings saves. Visitors browsing your site will never see it.
What values should I use for the PHP limits?
A solid baseline is upload_max_filesize 64M–128M, post_max_size equal to or higher than that, memory_limit 256M, and max_execution_time 300 seconds.
Can I fix it without editing any server files?
Yes — use your hosting panel’s PHP settings editor, the WPCode plugin, or bypass the browser upload entirely with FTP.
Final Thoughts
The “link you followed has expired” error looks cryptic, but it is almost always one thing: your upload is bigger than your server’s PHP limits. Check your current limit in Site Health, raise upload_max_filesize and post_max_size to 128M, and the upload will go through. If your host locks the limits, FTP is your escape hatch. And compress images before uploading them — see my guide on optimizing images in WordPress without losing quality — so everyday media uploads stay well under the limits.
If you are stuck on a WordPress error or need help speeding up, securing, or fixing your site, get in touch.