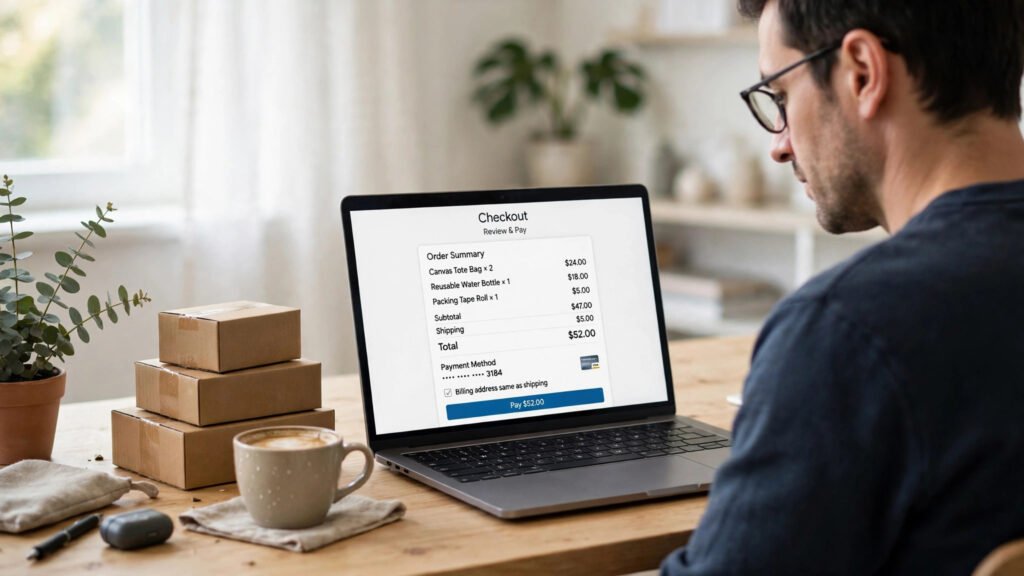
Turning a WordPress site into an online store is one of the most practical things you can do with the platform, and WooCommerce is the tool most store owners reach for first. It is free, open source, and built by Automattic. In this guide, you will learn how to set up WooCommerce on WordPress step by step — from installing the plugin and running the setup wizard to configuring payments, shipping, and taxes, and placing a test order before you go live.
Before You Start: What You Need to Set Up WooCommerce
Before you install anything, make sure the foundations are in place. You need a WordPress site running on your own hosting (WooCommerce does not run on a free WordPress.com plan), a domain name, and an SSL certificate so checkout pages load over HTTPS. Most decent hosts include SSL for free these days — if your site still loads over plain HTTP, fix that before you take a single payment.
You should also have a backup routine in place. Installing a major plugin like WooCommerce touches your database and adds new pages, so take a full backup first. If you have never done this, my guide on how to back up your WordPress site walks through the process.
Finally, gather the business details the setup wizard will ask for: your store name, business address, and the countries you will sell to.
Step 1: Install and Activate WooCommerce
- In your WordPress dashboard, go to Plugins > Add New.
- Search for “WooCommerce” and look for the plugin by Automattic — it is the one with millions of active installs.
- Click Install Now, then Activate.
Activation does a few things automatically. It creates four pages on your site — Shop, Cart, Checkout, and My Account — and adds WooCommerce and Products menus to your dashboard. It also launches the onboarding wizard, which brings us to step two. Do not delete those four pages: WooCommerce expects them to exist, and checkout breaks without them.
Step 2: Run the WooCommerce Setup Wizard
The setup wizard collects the core details WooCommerce needs to configure your store sensibly. Click Set up my store and work through the screens:
- Store details: Enter your store name, address, country, and email. Your location matters more than it looks — it drives your default currency, tax behaviour, and shipping defaults, so enter the real business location, not a placeholder.
- Industry and product types: Tell WooCommerce what you sell — physical products, digital downloads, or both. This shapes the checklist and recommendations you see later, but it does not lock you into anything.
- Business details: answer how many products you plan to sell and whether this is for yourself or a client; these answers only affect guidance.
The wizard deliberately keeps payment, shipping, and tax configuration light. It ends on the WooCommerce Home screen with a setup checklist. Work through that checklist in order, and treat each item below as the detailed version of those steps.
Step 3: Set Up WooCommerce Payments
Payments are where new store owners get stuck most often, so slow down here. Go to WooCommerce > Settings > Payments. This screen lists every payment method available to your store, and you simply toggle on the ones you want.
For most stores, one of these is the right starting point:
- WooPayments — WooCommerce’s own payment solution, built by Automattic. It accepts major cards plus Apple Pay and Google Pay, handles payouts to your bank account, and keeps refunds and chargebacks inside your dashboard. Availability depends on your country, so check whether your region is supported first.
- Stripe — the free WooCommerce Stripe Payment Gateway extension. A strong choice if WooPayments is not available in your country, and it also supports cards and wallets.
- PayPal — the free WooCommerce PayPal Payments extension. Many international customers prefer PayPal at checkout because they never have to type card details, so it is worth offering alongside a card gateway rather than instead of one.
WooCommerce also ships with offline options — direct bank transfer, cheque, and cash on delivery. These cost nothing to enable and are useful for local stores or for testing checkout. Whatever you choose, run a test transaction in sandbox or test mode before accepting real money.
Step 4: Configure Shipping Zones and Rates
Shipping is the setting most new store owners configure backwards, so here is the mental model: a shipping zone is a geographic area with its own set of methods and rates. Go to WooCommerce > Settings > Shipping and click Add shipping zone.
Two rules will save you trouble:
- Order matters. WooCommerce reads zones from the top and stops at the first match. If you put a worldwide zone above a local zone, the worldwide rates swallow every order. Put specific zones first, general zones last.
- Start simple. Most small stores only need flat rate shipping per zone, free shipping above a minimum order value, and local pickup if relevant.
Step 5: Set Up Taxes Correctly
Tax is the setting new store owners most often get wrong, partly because the Tax tab hides until you enable it. Go to WooCommerce > Settings > General, tick Enable taxes (listed as “Enable tax rates and calculations”), and save. A Tax tab now appears in WooCommerce Settings.
On the Tax tab, decide the two things that matter most:
- Prices entered with tax: choose “Yes, I will enter prices inclusive of tax” if your displayed prices should already include tax (the norm for most consumer stores outside the US), or “No” if WooCommerce should add tax on top at checkout.
- Tax rates: under Standard Rates, add a rate for each region you sell into — country code, rate, and tax name (for example, VAT or GST). Tax rules vary dramatically by country, and getting this wrong is a compliance problem, not just a display problem.
For US sales tax, EU VAT, or any multi-region setup, consider an automated tax plugin such as WooCommerce Tax or Avalara rather than maintaining rates by hand.
Step 6: Add Your First Products
With the plumbing done, go to Products > Add New and create your first product. The fields that matter most are the ones customers actually see and the ones checkout depends on:
- Title and description: write for the buyer, not for search engines. Say what the product is, who it is for, and what it does, in that order.
- Product data: set the price, sale price if any, and stock status. For physical products, add weight and dimensions — shipping plugins and some carriers use them.
- Product image: upload a clear, well-lit photo. Stores with blurry or missing product images lose sales silently; nobody emails you to say they left because of a photo.
- Categories and tags: create a few categories that match how customers browse.
Step 7: Test Checkout Before You Go Live
Never launch on an untested checkout. Place a test order yourself using your gateway’s sandbox mode, or enable the cheque payment method temporarily and complete an order with it. Check every link in the chain:
- Add the product to the cart and confirm the price, shipping, and tax are correct.
- Complete checkout and confirm the order confirmation email arrives.
- Check the order appears in WooCommerce > Orders with the right status.
- Process a refund or cancel the test order so you know that flow works too.
New stores start in “Coming soon” mode, which shows visitors a placeholder page. When testing is done, switch your store to Live under WooCommerce > Settings > Site visibility. Only then share the store publicly.
Common WooCommerce Setup Mistakes to Avoid
- Skipping the backup: a store plugin changes your database. No backup, no safety net. See my WordPress backup guide if this is not routine yet.
- Guessing at taxes: if you are unsure about your obligations, ask an accountant for your region. A wrong rate is worse than a delayed launch.
- Ignoring security: a store holds customer data, which raises the stakes. Run through a WordPress security hardening checklist before you open the doors.
Final Checklist Before Launch
Run through this list once before you announce the store: SSL active, backup taken, payment gateway tested in sandbox, shipping zones ordered specific-to-general, tax rates set for every region you sell into, one real product published with a proper image, test order placed and refunded, store switched to Live, and order emails arriving.
Setting up WooCommerce rewards doing things in the right order: install, wizard, payments, shipping, taxes, products, test, then launch. Skip the testing step and you will find the bugs your customers find first.
If you would rather have an experienced developer set up or fix your WooCommerce store for you — including payment gateway configuration, shipping rules, and performance tuning — get in touch through my contact page and tell me about your store.
For further reading, the DevDiggers WooCommerce setup guide verifies its menu paths against the official WooCommerce documentation.